Jen-Ken AF3C Kiln
So, I bought a kiln.
Last year my I was gifted a pottery wheel for Christmas, shout out to Nana! I used it once and soon realized that air dry clay was not going to cut it for me.
Ever since my first ceramics class in 2009 I’ve been obsessed with the medium. I made my first miniature table and played on the wheel and wasn’t terrible at it.
I took a few classes in college and the passion grew.
So for a year I’ve been searching for local kilns and trying to apply at the ever-so-exclusive weekend ceramic classes at the local art studio to no avail.
With my 30th birthday creeping up on me I’ve been racking my brain for something that would excite me. I feel grateful to have not been able to think of anything I needed or wanted until the thought of finally owning my own kiln came to mind.
So I went online and built my kiln for the umpteenth time, and asked my husband if I could trade a birthday gift for his ok on me buying myself a kiln. After some hesitation due to not knowing where we would put it, he finally agreed.
I then spent hours upon hours researching; making sure the kiln was a quality brand, what the kiln’s capabilities are, what tools would be needed with it, what attachments and upgrades it would need, price matching it with other companies, and finally finding a coupon code.
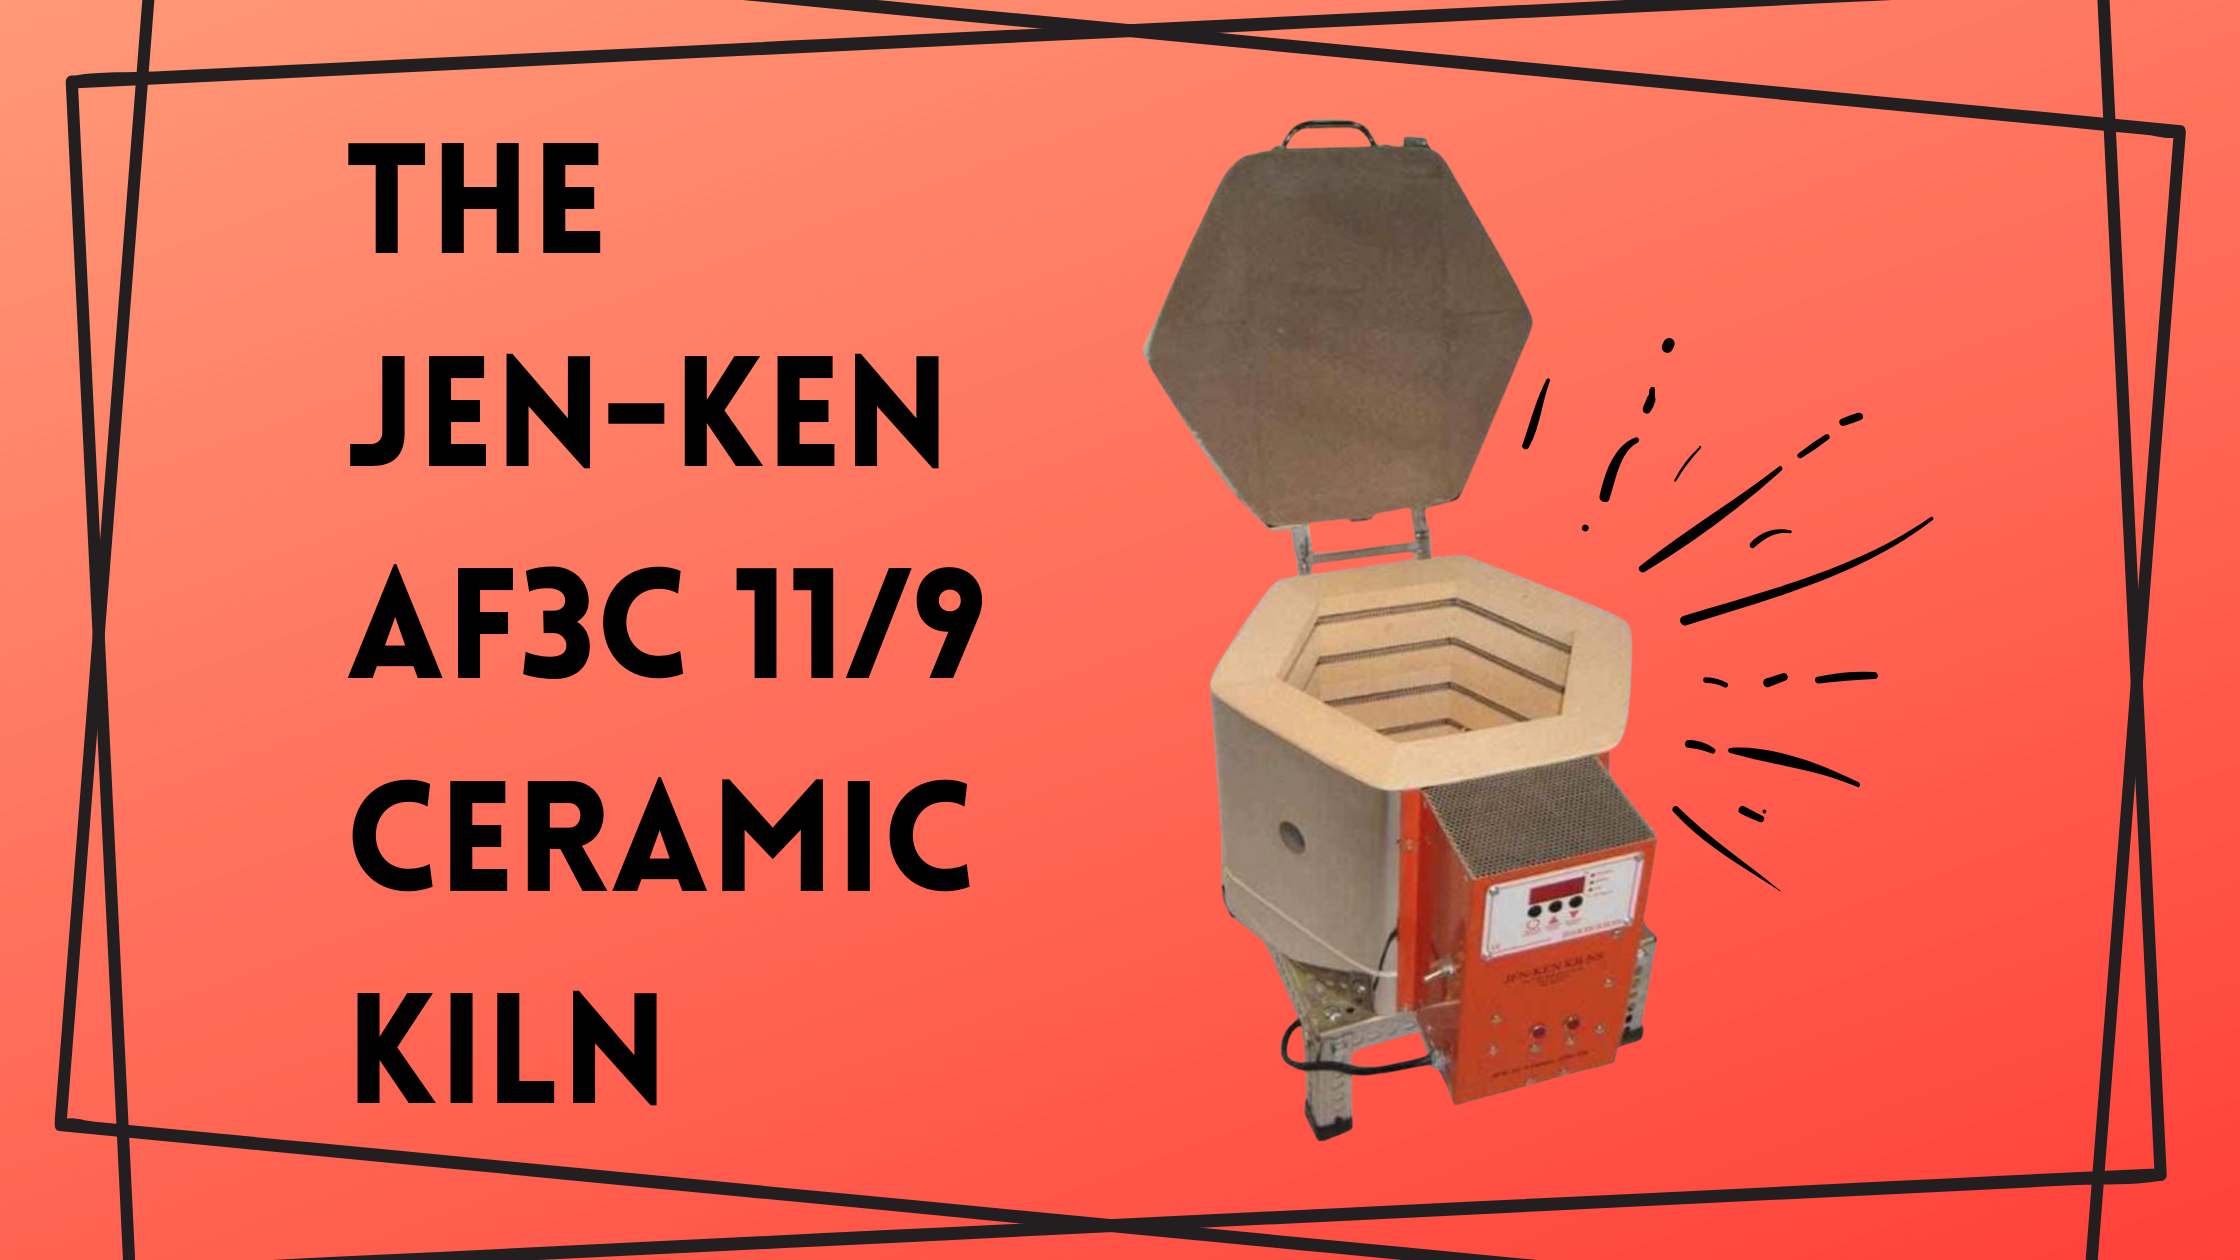
I ended up purchasing the Jen-Ken AF3C 11/9 Ceramic Kiln from Soul Ceramics.

The Jen-Ken AF3C 11/9’s features:
Max temp is 2100 degrees Fahrenheit firing at 04-06 for low-fire ceramics, fusing & slumping glass
Inside dimensions: 11”x 9”
Voltage: 120v
Solid-state relay - controls the power cycling for tight temperature control
Tap touchscreen smart controller - ability to save multiple firing programs with Wi-Fi control via cell phone
Power interrupt switch - auto lid shutoff
Furniture kit - 2 shelves, 3 1” posts, 2” posts, 4” posts, and a pound of shelf primer aka kiln wash
Stand & user manual
Tools Needed
Low-fire clay - terra cotta, low-fire white, earthenware, greenware, glazing, bisque-firing
Low- fire glazes and underglazes
Heat resistant gloves
Pyrometric Cones
Wax resist
Firing Tips
There’s a major difference between 04 - 06 and 4 - 6
04 = 1940 degrees Fahrenheit & 1060 degrees Celcius
06 = 1830 degrees Fahrenheit & 999 degrees Celcius
Clay must be bone dry before firing
Bisque fire is generally at cone 05
Firing Glazed pots us faster, 05 is common
When the kiln temperature is below 200 degrees Fahrenheit it can be opened
After 14 weeks of patiently waiting, the kiln arrived!
After reading the manuals online there were a few key tips on setting it up in the right location and usage.
Placement:
Install kiln 12 inches away from any surface and make sure it’s placed on a non-flammable surface in an open space that is covered, indoor, and well-ventilated. The best and safest place for your kiln is on a cement floor. If not, some type of adequate fireproof material like concrete blocks should be used beneath the kiln to prevent a possible fire hazard or prevent discoloration of the floor.
Place the kiln out of the way of children, traffic, and work areas. Never install a kiln outside and avoid undue moisture.
Use correct voltage, wire size, and breaker.
The kiln must be properly grounded and level
Never place anything above or under the kiln for storage, nor should anything be propped up against the kiln.
Do not store or use flammable products near your kiln such as gasoline, paint, aerosol cans, paper, curtains, plastic, etc.
Never allow the power cord to touch the kiln. Never use an extension cord. The kiln may need to be rotated a little for the cord not to touch the kiln.
Usage:
Before use, vacuum out any extra loose pieces and make sure the coils are unobstructed
Unplug the kiln before servicing or vacuuming.
Do not drop or slam the lid shut.
Let the kiln cool to room temperature before opening the lid.
Make sure all switches are turned to “OFF” before opening the lid.
NEVER LEAVE THE KILN FIRING UNATTENDED.
Please refer to your kiln’s manual for extra tips and rules, this shouldn’t be your only form of reference when setting up your kiln, I’m no professional!


Epoxy Resin
Epoxy resin is my favorite medium to work with beside clay. I discovered epoxy over a year ago when I was searching for a way to preserve some flowers and a dead butterfly I found. To date, I’ve made so many different things but I have yet to even touch the flowers and butterfly!
When creating with epoxy, anything is possible. It’s truly a limitless medium; you can mix it with any type of material to create something unique and durable.
EPOXY RESIN BRANDS
I’ve found that most epoxy brands are alike and I have yet to try a brand that hasn’t worked for me. Here’s a list of clear-drying epoxy brands that I’ve tried:
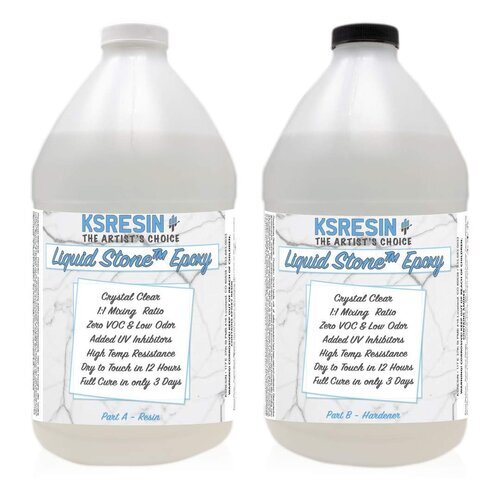

You can order the 16oz (two 8 ounce bottles), 32oz (two 16 ounce bottles), or 1 Gallon (two half-gallon bottles). There are more sizes available on their website.
This brand is nice and clear when you initially pour but it will yellow after a year or two!

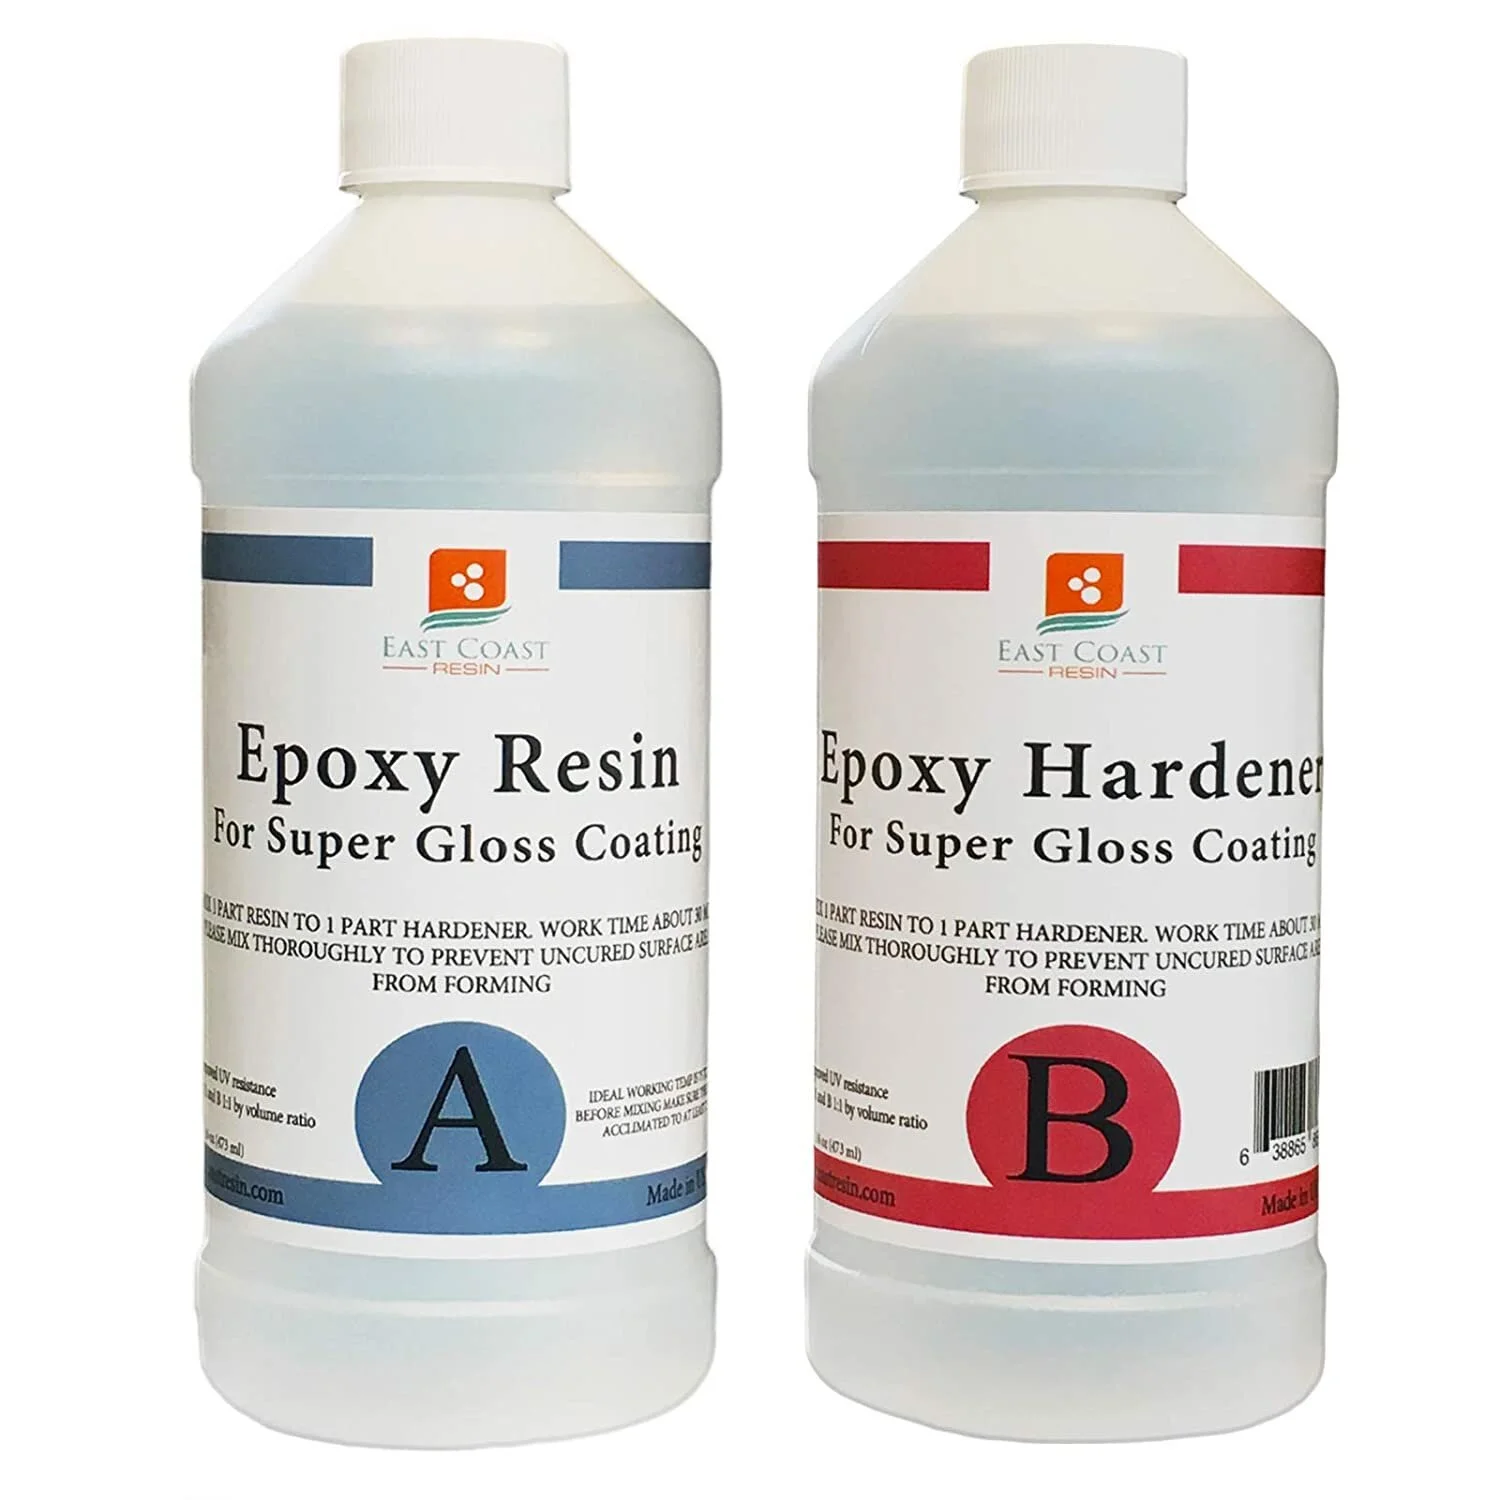
You can order the 16oz (two 8 ounce bottles), 32oz (two 16 ounce bottles), or 1 Gallon (two 65 ounce bottles).
Application Specialty: casting or coating
Working Time: 30-45 minutes
Cure Time: 24-72 hours
UV Resistant
Low Odor
No volatile organic compounds
You can order the 16oz (two 8 ounce bottles), 32oz (two 16 ounce bottles), or the 1 Gallon (two half-gallon bottles).

ProMarine Supplies Table Top Epoxy
I ordered the 1 gallon kit on Amazon
If you order directly from their website you can choose from 2 quarts all the way up to 60 gallons!
Cures at 75-80° F degrees.
Cure time is approximately 12-14 hours to be dry to the touch and 72 hours to completely harden and even then I find that it doesn’t fully stiffen up.
I like how watery this epoxy gets when it’s fully mixed, it’s the lightest feeling epoxy I’ve experienced. Most epoxy resin will start to get hot when it’s at that consistency but I feel like this resin gives you a little more working time after it’s fully mixed.